Salt Rock angler brief: compact gear for fast launches
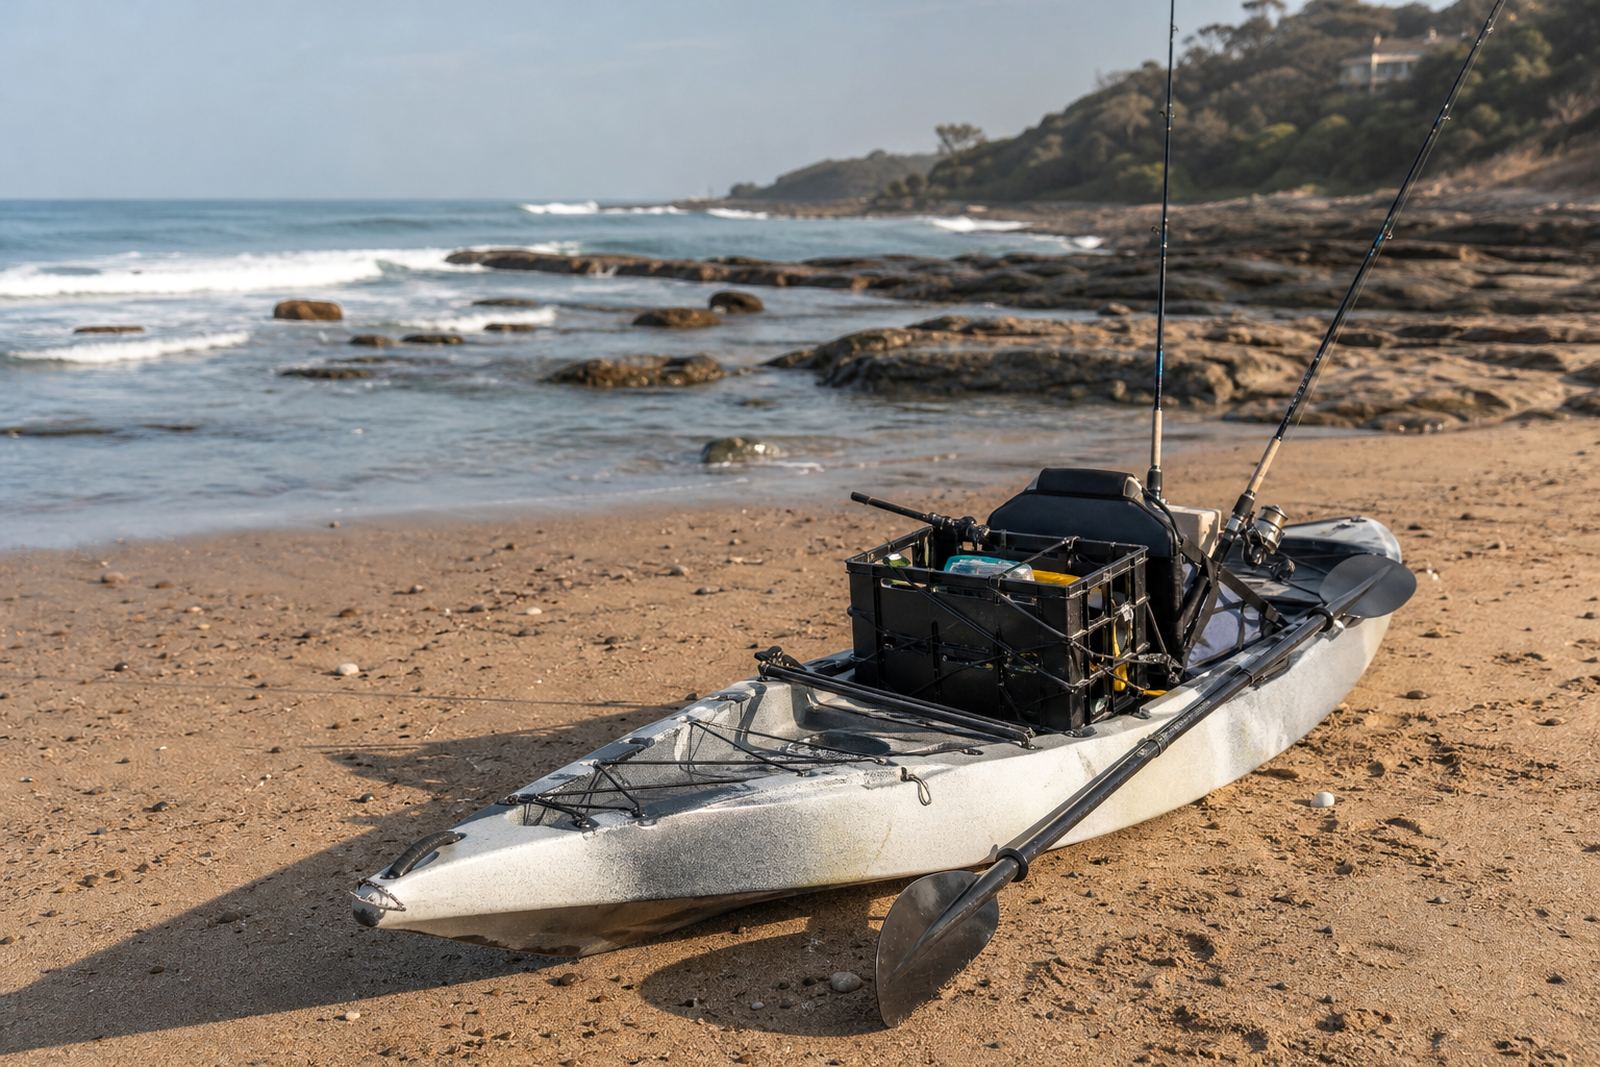
The client was a recreational kayak fisherman based in Salt Rock, KwaZulu-Natal, targeting early-morning nearshore sessions along the North Coast. He wanted a neater storage and carry system for rods, reels, bait boxes and terminal tackle, with the main goal being less time fiddling at the car and more time on the water.
The brief was straightforward but specific. He needed compact rods that could fit inside or beside the kayak hatch area, secure storage for small tackle items, and a setup that would hold up to salt spray, beach sand and repeated rinsing after each trip. We also had to keep the whole arrangement light enough for one person to manage without help.
- Location: Salt Rock, North Coast KZN
- Use case: nearshore kayak fishing before work and on weekends
- Main need: secure, compact, salt-ready tackle organisation
What made the setup tricky on the North Coast
Salt Rock conditions are not hard on paper, but they are unforgiving in practice. Salt air, fine sand, humid storage and sudden weather changes can turn a neat tackle system into a rusty mess if the gear is not chosen carefully. The client also had limited garage space and no interest in carrying oversized rod tubes or loose terminal tackle in the bakkie.
We had to keep the footprint small and the packing order simple. That meant fewer loose items, shorter rod lengths, corrosion-resistant fittings and storage that could be wiped down after every outing. We also planned around load-shedding because charging accessories and sorting gear at night needed to happen with very little interruption, so the system had to stay organised even if prep time was limited.
- Constraints: small storage space, salt exposure, sand, and limited prep time
- Need: easy rinse-down after each launch
- Priority: avoid clutter and reduce damage during transport
Gear and storage supplied for the kayak build
We supplied a practical mix of tackle and storage items suited to coastal kayak use. The rod choice was compact enough for transport but still matched to light lure work and bait fishing from the kayak. The reel selection focused on smooth drag, easy maintenance and reliable line lay, because rough drag on a small craft is a problem when a fish runs under the kayak or turns in the wash.
We also set up terminal tackle and bait prep items so the client could pack in a fixed order. That included trace materials, hooks, small sinkers, swivels, lure clips and a compact bait box arrangement. The goal was not to overfill the kayak, but to make sure the right pieces were always within reach and not rolling around under the seat.
- Compact rods matched for kayak carry and short-range casting
- Reels set up for smooth drag and easy wash-down
- Terminal tackle sorted into small, labelled storage tubs
- Bait prep advice for cleaner packing and less spillage
Fitting, line spooling and practical advice on the day
Once the gear was selected, we handled line spooling and tackle layout so everything worked as one unit. The reel spooling was done to suit the client’s target species and the type of water he fishes most often, with enough capacity for nearshore runs but not so much that the reel became bulky or overfilled. We also checked line twist and drag pressure before handing everything over.
Our team walked through how to stow the rods, where to keep spare traces, how to pack bait containers for a clean run to the beach and what to rinse first after a session. For a kayak angler, small habits matter. If the trace box stays dry, the hooks stay sorted and the reel gets rinsed as soon as the trip ends, the kit lasts longer and performs better.
- Line spooling completed to suit kayak use and nearshore distances
- Drag set and tested before collection
- Gear packing order explained step by step
Timeline from first chat to ready-for-launch
The project ran over two weeks from the first enquiry to the final handover. The first few days were used to confirm the fishing style, storage space and target conditions. After that, we matched the rod length, reel type and tackle layout to the kayak setup and prepared the spooled reels and storage items.
The second week was used for final checks, line adjustments and a last review of the carry system. The aim was to avoid trial-and-error at the beach. By the time the client collected everything, he had a setup that could be loaded quickly, launched cleanly and rinsed off without any complicated strip-down afterwards.
- Week 1: brief, gear matching and storage planning
- Week 2: spooling, checking and final handover
- Total turnaround: 2 weeks
Results after the first few launches
The result was a much cleaner and faster prep routine. The client reported less clutter in the vehicle, quicker unloading at the launch point and fewer delays sorting tackle on the sand. The compact rods were easier to carry, and the smaller storage system made it simpler to keep bait, traces and spare terminal tackle under control.
For us, the main win was not just the gear itself but the way it changed the fishing routine. A kayak angler does not have room for wasted motion. Once the layout was trimmed down to the essentials, the whole session became easier to manage from start to finish. Even the post-trip cleanup was quicker, which matters when you are tired, sandy and still have to drive back into town.
- Less clutter in the car and at the launch site
- Faster setup and pack-down
- Better protection against salt and sand wear
What we would repeat for another kayak angler
If we were doing the same type of setup again, we would keep the approach just as practical: compact rods, easy-rinse storage, simple terminal tackle and a reel setup that suits the water rather than looking fancy. For coastal kayak fishing, overpacking is usually the first mistake. The second is choosing gear that is awkward to clean or too long to store properly.
We would also keep the advice part of the process. A good kayak setup is not only about what you buy, it is about how you pack it, rinse it and reset it after each outing. For anglers in Salt Rock, Ballito or Durban North, that routine has to work in humid weather and with limited space. That is the difference between gear that lasts and gear that becomes a headache by winter.
- Keep the kit compact and easy to rinse
- Choose storage that closes properly against sand and spray
- Stick to a packing order that can be repeated every trip
Key facts
| Client type | Kayak fisherman in Salt Rock, KwaZulu-Natal |
|---|---|
| Project duration | 2 weeks |
| Core setup | Compact coastal rods, matched reels and organised terminal tackle |
| Storage focus | Small, secure, salt-resistant carry system for kayak launches |
| Services used | Line spooling, drag tuning, trace making and starter setup advice |
| Primary result | Faster launches, cleaner pack-down and less tackle clutter |